Skip to content
WordPress Installation Steps
- Download WordPress source zip from the following link WordPress Download Link
- Unzip the downloaded WP (WordPress) in your web server directory. For e.g. in Ubuntu the path will be
/var/www/html/- Command to unzip in Ubuntu server
unzip wordpress-5.2.1.zip -d /var/www/html/
- Once unzipped in your web server rename as your project name for e.g.
vijayan.in- Shell command:
mv wordpress/ vijayan.in
- Reload your newly copied WP site in your favourite web browser

- On the other hand side please confirm you created a new database for your WP site
- MySQL statement:
CREATE DATABASE wp_learn; - Refer syntax: Create Database Documentation
- Click the Let’s go! button (refer 4th point you will find button at the last)
- You will be redirected to the following screen
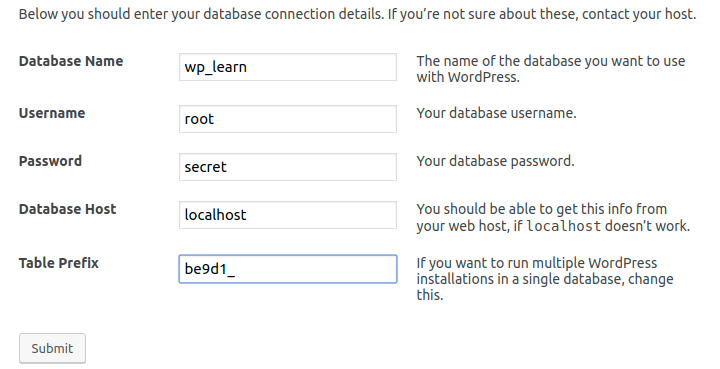
- By seeing the image itself you will get a clear idea what to enter
- If you are closely noted the table prefix is replaced from default wp to random string for the security purpose
- Though this random string table prefix is simple one this will be the first step to add a security to your site
- Sometimes if you don’t have a proper permission in your Linux server you will face the following error

- Run this shell command with apache’s user/group
- In Ubuntu the shell command is
sudo chown -R www-data:www-data /var/www
- After executed the shell command
chown refresh the installation screen in your website then the screen will be similar to the following image
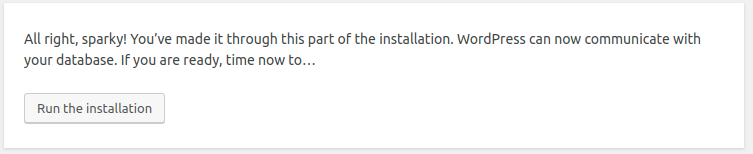
- Once you clicked the button Run the installation the following screen will appear

- Click the Install WordPress button it will install the WP and you will be redirected to the following final screen

- Once you click Log in you will be redirected admin login if you like do administration work enter your credential detail and get logged-in else enter your website URL you will be redirected to the home page